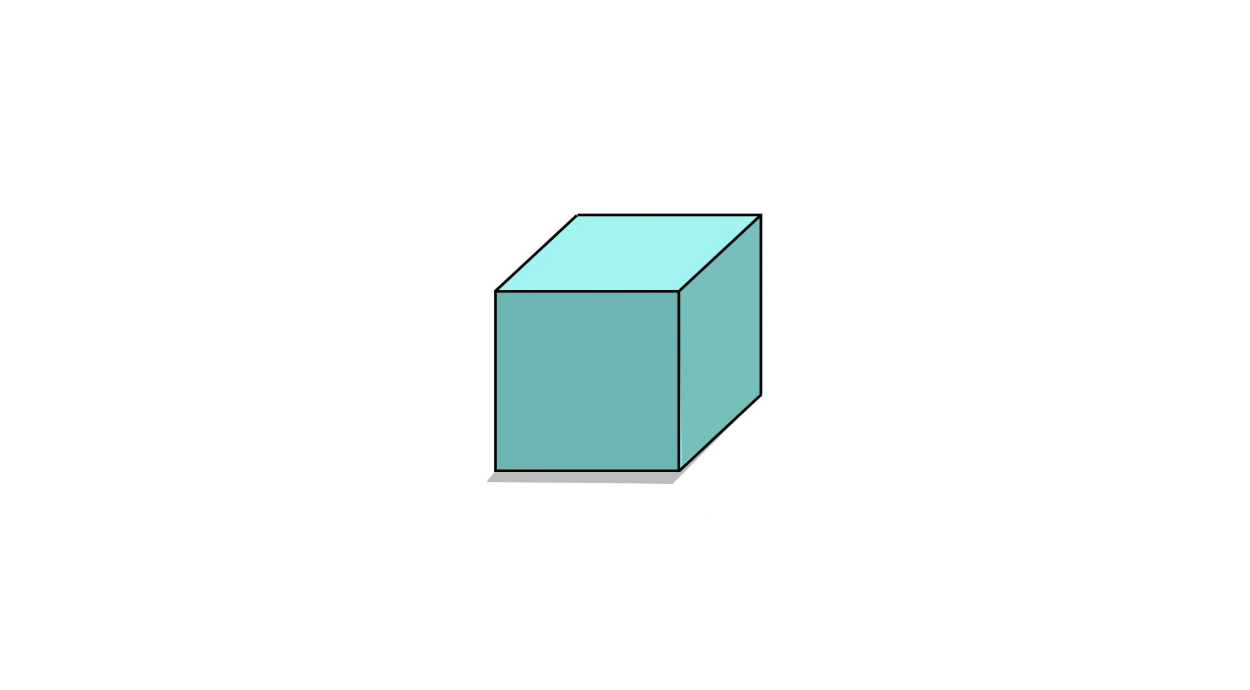
How to Draw A Cube. The cube is a shape that we see in one form or another practically every day of our lives. This six-sided 3D mold can make anything from ice cubes and bricks to bars of soap and wood blocks.
Also, check our simple elsa coloring pages.
Since we see dice in one way or another almost every day, you might think it would be easy to draw one from memory.
However, it can be more difficult than it looks, as a 3D shape needs to be created on a 2D surface. However, it can be easier once you know what to do!
We’ve created these 6 easy steps to draw a cube guide to make it easier than ever!
How to Draw A Cube
Step 1
In this tutorial on how to draw a cube, we’ll create a 3D shape using some 2D squares and rectangles.
Due to how we will draw this cube, you should use a lighter pencil for the first few steps as there will be a lot of erasing before drawing the final shape.
We’ll mention later in the guide when would be a good time to start using a darker pen or pencil!
For this guide, you’ll have it a lot easier if you can use a ruler. To start the process, draw a square with sides of equal length.
Step 2
To continue creating your cube drawing, let’s draw another square.
This square should be the same size as the previous one you drew, so this is another step where using a ruler to measure the sides of the first square would be very helpful.
The reference image will give you a good idea of where to place this second square behind the first. You’ll know you’ve got the placement right when a smaller perfect square forms where the two intersect.
Getting the placement right can be tricky, but that’s why we will use a pencil for now!
Step 3
We have a much easier step for this part of our How to Draw a Cube guide.
Use your ruler to draw a line between the top two corners of the two squares.
That’s all there is to this step, so let’s move on to step 4!
Step 4
Continuing the previous step of drawing the cube, we’ll add more lines to connect the sides of the cube.
For this step, connect the shape’s right sides and ensure it looks like the reference image.
Once these lines have been drawn, the skeleton of your cube is now in place, and the next step is to focus on completing the final shape.
Step 5
In this fifth step of our guide on drawing a cube, we will focus on erasing unnecessary lines and reviewing the last lines with ink.
To do this, erase the two inner lines of the square on the back of your cube, leaving the two outer ones intact.
Again, the reference image will help you erase the correct lines! When those lines are erased, you’re left with a cube!
However, it would be best if you still started coloring, as you should go over the rough pencil lines with a darker-colored pen or pencil.
If you use a pen to go over it, give it a moment to dry before erasing any remaining pencil lines. Once you’ve drawn the final lines and erased the pencil, you’re good to go!
Step 6
Now that you’ve come to the final step, you already have an amazing cube drawing in front of you! While it’s already something to be proud of, beautiful colors allow you to take it further.
You have many options to consider when it comes to coloring this cube. You could draw a textured surface for your cube.
For example, you could use some lines and shades of brown to make it look like wood. You could make it look like a melting ice cube!
By deleting and adding a few lines, you could make it look like a box, one with a cat playing in it!
If you color it like a regular cube, the reference image we provided will help you mix the shape with your colors.
Your Cube Drawing is Finished!

